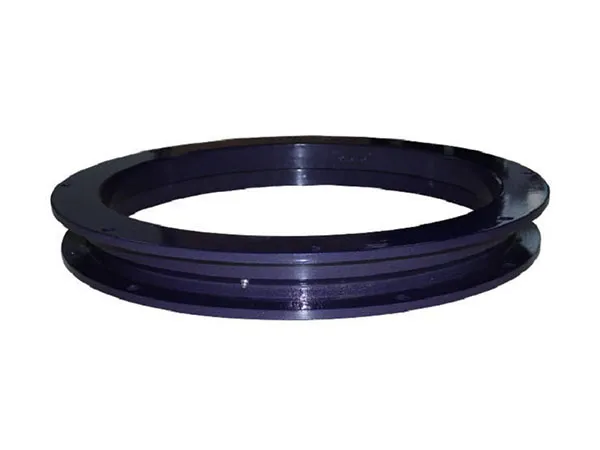
Replacing a trailer turntable bearing is a precise job that requires the proper tools and a safe working environment. The process is a bit more involved than replacing a standard wheel bearing because the turntable bearing is a large, flat slewing ring bolted to both the trailer’s A-frame and its chassis.
Trailer Turntable Bearing Replacement

Safety First
Secure the Trailer: Before you begin, you must ensure the trailer is stable. Use a jack to lift the trailer and then place it on jack stands to prevent it from moving or falling.
Prevent Movement: Block the wheels to ensure the trailer cannot roll in either direction.
Part 1: Diagnosis & Preparation
Symptoms of a Failing Turntable Bearing:
Before you start, confirm the bearing needs replacement. Common signs include:
Grinding or Popping Noises: Especially when turning the trailer (e.g., in a yard).
Excessive Play or Sloppiness: If you can rock the front of the trailer side-to-side more than a tiny amount, the bearing is worn.
Binding or Stiff Turning: The turntable feels “notchy” or is difficult to rotate.
Metal Shavings: Finding metal flakes around the turntable seals is a sure sign of internal failure.
Uneven Wear on Tires: A failing turntable can affect alignment and tire wear on the dolly or tractor.
Tools and Parts Needed:
Heavy Equipment:
Overhead crane, heavy-duty forklift with lifting rig, or multiple high-capacity (20+ ton) hydraulic jacks and certified heavy-duty support stands.
Impact wrench (1″ drive is recommended for stubborn bolts).
Large torque wrench capable of reaching 500+ ft-lbs (check manufacturer specs).
Hand Tools & Supplies:
Complete socket and wrench set (large sizes).
Long breaker bars and pry bars.
…
More detailed information on how to replace the trailer turntable bearing can be found at: https://www.mcslewingbearings.com/a/news/trailer-turntable-bearing-replacement.html


