Steel reinforcement is a fundamental material in construction, infrastructure, and industrial applications, forming the cornerstone of structural strength and durability. Steel reinforcement production lines are crucial for providing high-quality steel reinforcement, ensuring safety, reliability, and long-term performance. Understanding the factors that influence steel reinforcement production quality helps manufacturers optimize their processes and consistently produce superior products.
Factors Affecting Steel Bar Production Quality

1. Raw Material Quality
The quality of steel bars begins with the raw materials. Impurities, inconsistent chemical composition, or substandard iron can weaken the final product. Using premium iron ore and carefully controlled alloying elements ensures uniform strength, ductility, and corrosion resistance, forming the foundation of high-performance steel bars. Manufacturers focusing on raw materials for steel bar strength can significantly enhance final product quality.
2. Melting and Refining Techniques
The melting and refining stage directly determines the steel’s microstructure and mechanical properties. Advanced methods like Electric Arc Furnaces (EAF) and continuous casting reduce defects such as inclusions, porosity, and segregation. Precise temperature control during melting and refining is crucial for achieving homogeneity and desired mechanical strength. Adopting advanced techniques in steel bar melting and refining is key to consistent quality.
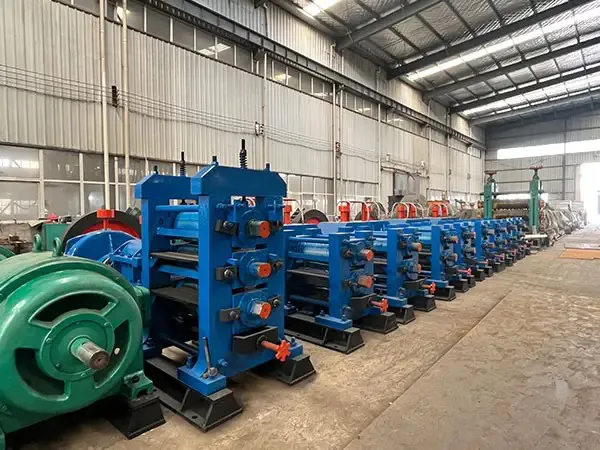
3. Rolling and Forming Parameters
The rolling and forming process shapes the steel bars and affects surface quality, dimensional accuracy, and internal stresses. Variables such as rolling speed, temperature, and lubrication impact surface smoothness and mechanical performance. Optimizing these parameters minimizes cracks, deformations, and weak points in the final product. Learning how to improve steel bar quality in manufacturing often focuses on optimizing rolling and forming processes.
…
For more detailed information on key factors affecting the quality and performance of steel reinforcement production, please click to visit:https://www.gyssljx.com/a/news/factors-affecting-steel-bar-production-quality.html