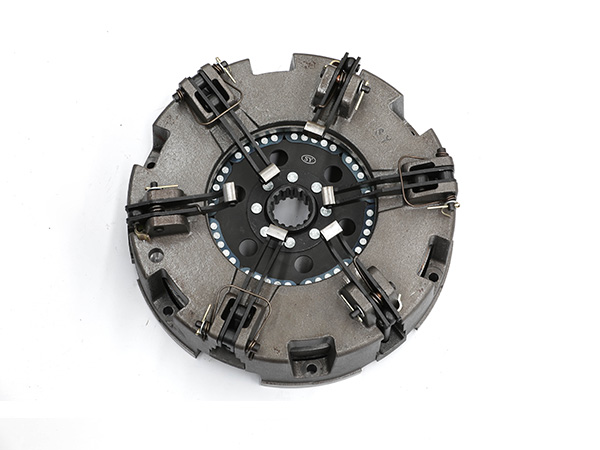
Replacing a tractor clutch is a mechanical task that requires precision and attention to detail. The specific steps can vary depending on the make and model of the tractor, so it’s essential to consult the tractor’s service manual for accurate instructions. Here is a general guide that outlines the typical steps involved in replacing a tractor clutch:
Tools and Equipment Needed
Service manual for the tractor
Wrenches
Socket set
Screwdrivers
Pry bar
Jack and jack stands
Clutch alignment tool
Torque wrench
Replacement clutch kit
Tractor Clutch Replacement Steps
Consult the Service Manual
- Review the tractor’s service manual for specific instructions and specifications related to the clutch replacement. The manual will provide information on the type of clutch used, torque specifications, and any special instructions.
Safety Precautions
- Ensure the tractor is on a level surface and engage the parking brake.
- Disconnect the battery to prevent any electrical issues during the replacement.
Remove External Components
- Remove any covers, guards, or other components that may be obstructing access to the clutch assembly.
Drain Fluids (if required)
- If the tractor has a hydraulic clutch, you may need to drain the hydraulic fluid according to the manufacturer’s guidelines.
…
For more detailed information on the tractor clutch replacement process, click here: https://www.syclutch.com/news/tractor-clutch-replacement-process.html

